Description
Imaging Polarimeter Systems for the automatic measurement of residual stress in transparent materials
Overview
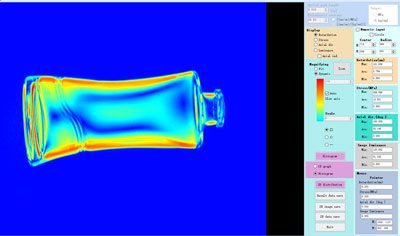
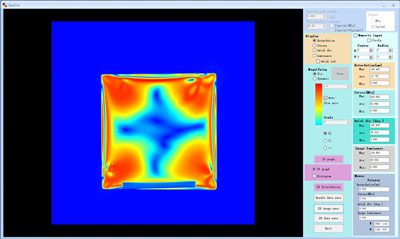
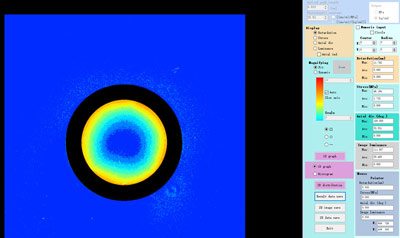
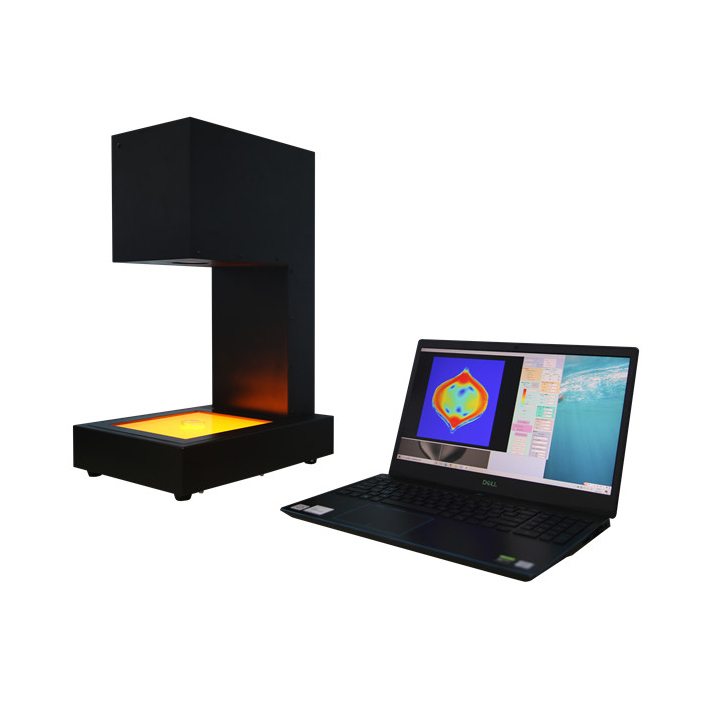
This instrument is a stress measurement device that automatically detects the retardation and the slow axis direction of transparent objects which displays birefringence phenomenon under polarizing light. By inputting sample thickness and phoelastic constant in advance , stress vaule( Mpa) will display automatically.
Application area
glass container, glass vial, water glass, industrial new material glass, optical new material glass, optical lens, crystal, quartz, glass wafer, glass tube, laboratory glassware, float glass plate, automotive glass, resin plate, resin film, mold injection resin products
Measuring principle
When light travels through the polarizer, it becomes circular polarized light. When a stressed sample is placed, there is an optical retardation between the slow axis and fast axis . Thus the outgoing light becomes elliptical polarized light. By rotating the analyzer , the rotating angle of the polarized light which is affected by the presence of internal stress can be detected precisely. By applying the rotating angle to a formula, stress value in the sample will be calculated.
During one measurement, this full-automatic Polariscope can take images at a specialized angle, and simultaneously obtain the stress value and slow axis direction of all sample areas in the viewing field and output the 3D stress distribution.
Application
Glass Inspection
Plastic Inspection
Crystal Inspection
Optical Fiber Inspection
Specifications
Measurement area size: 175*175mm
Measuring space height: 0~150mm
Detection method: rotating analyzer method
Setting wavelength: 590nm
Retardation range: 0-145nm
Repeated measurement accuracy: 1nm
Effective pixels: 1100*1100
Overall size: 363*285*490mm
Weight: 16kg
Light source: high brightness LED
Power supply: AC 100~240V 50/60Hz 0.35A
Support system: Windows10
Use environment: indoor use
Environment temperature: 10℃~40℃
Environmental humidity: 25% ~ 85%
Accessories: measuring main body, PC, cable, power adapte
Features
1.One-key automatic stress measurement within the whole viewing field ;
2.Under high-speed mode , a single measurement can be finished in 15s;
3.The high-speed and standard modes can be switched freely ;
4.When moving the cursor, it will automatically display stress retardation at the point of the cursor ;
5.Strong testing results analysis functions ;
* All testing data ( optical retardation , slow axis angle , stress value) will be stored in CSV format
* For 1 sample , all testing info can be stored in bak format . No need to proceed a second time test
* Data storage , image storage functions . Including below :
– Entire stress image within viewing field
– 3D stress image within viewing field
– Selected area stress image
– Zooming in selected area
Images
